Step-by-Step Guide

Welcome, we understand that Webflow can be a bit confusing, this guide will help you get started. So grab a pen and paper and let's get started!

2. Swap Logo

Updating the branding is the first step to making the template yours.

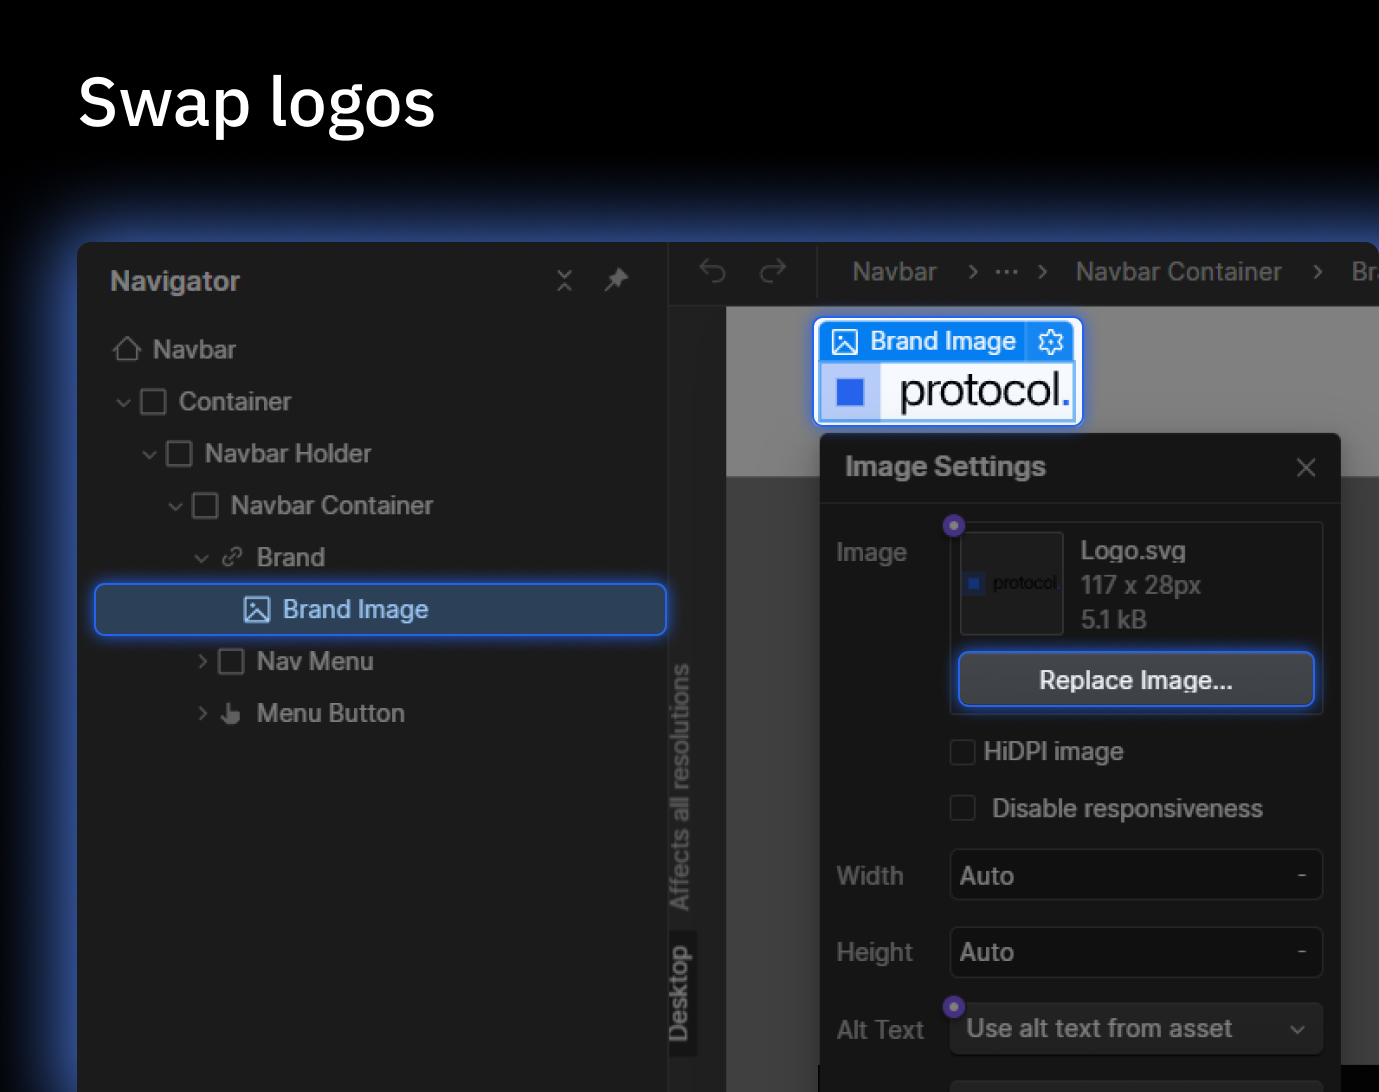
  • Enter the Component: Double-click the Navbar component to enter edit mode.
  • Select the Image: Click on the Brand Image (Logo) placeholder.
  • Replace: Click the Gear Icon (Settings) in the top-right of the element and select Replace Image. Upload your logo, and it will update across the entire site.

3. Managing Your Content (CMS)

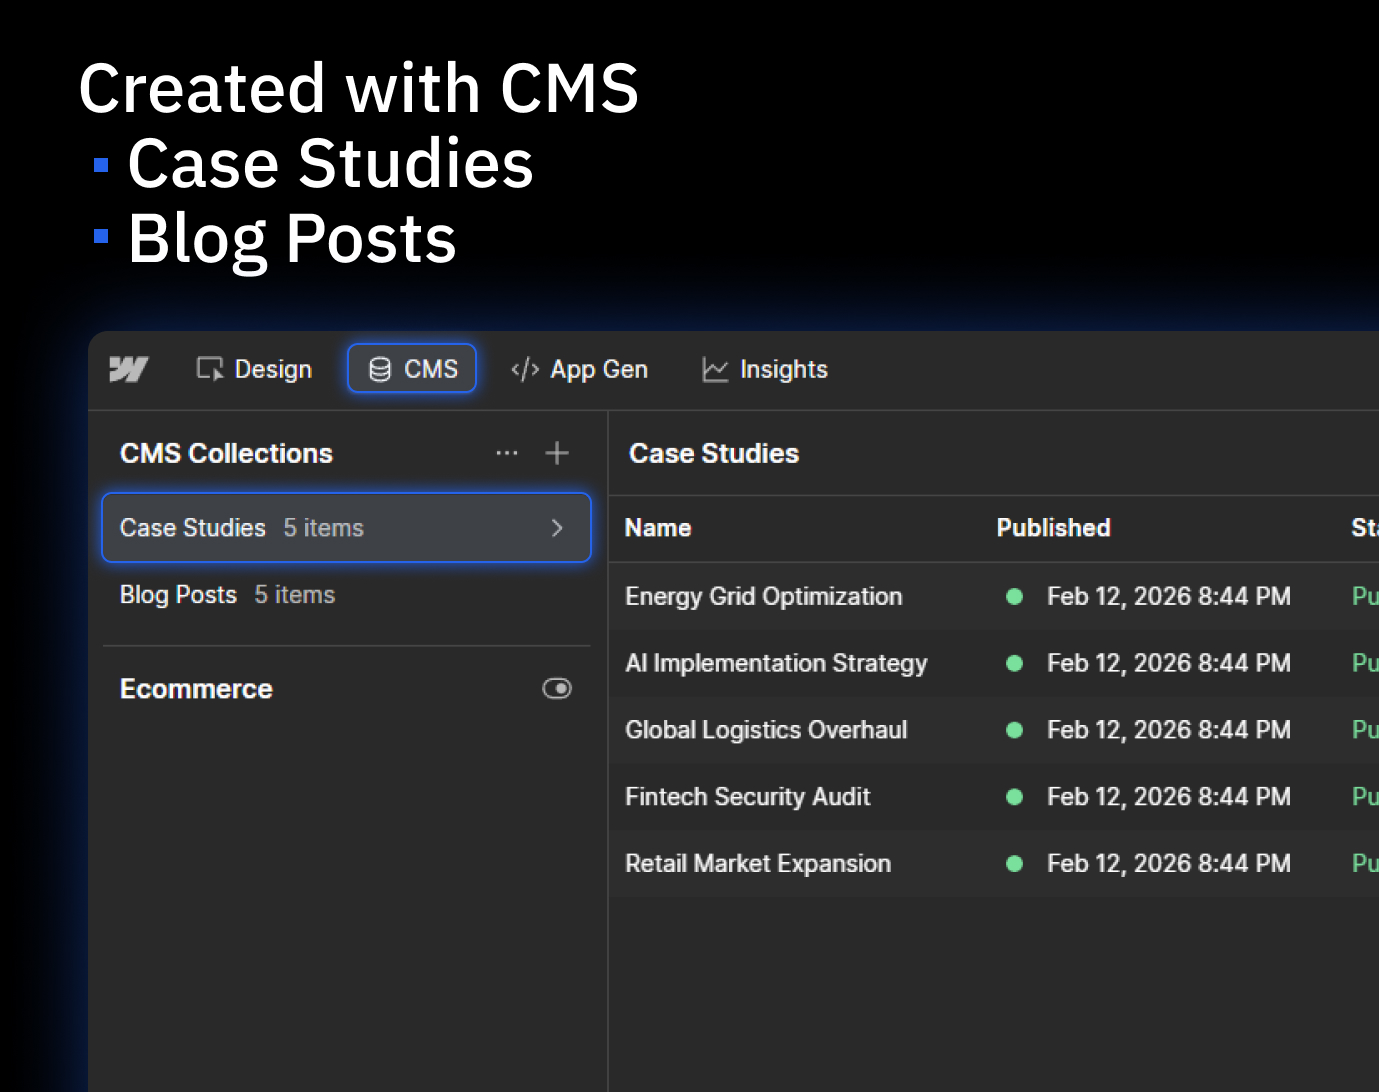
The CMS (Content Management System) is where you'll manage your dynamic content like Case Studies or Blogs.

  • Access the CMS: Click the CMS icon (stacked coins) in the top-left toolbar.
  • Choose a Collection: Navigate to the Case Studies or Blogs collection.
  • Edit or Add: Click on an existing item to change the text and images, or click the + New button to create a brand-new post from scratch.

4. SEO & Page Settings

To ensure your site looks great on Google and social media, you need to update your metadata.

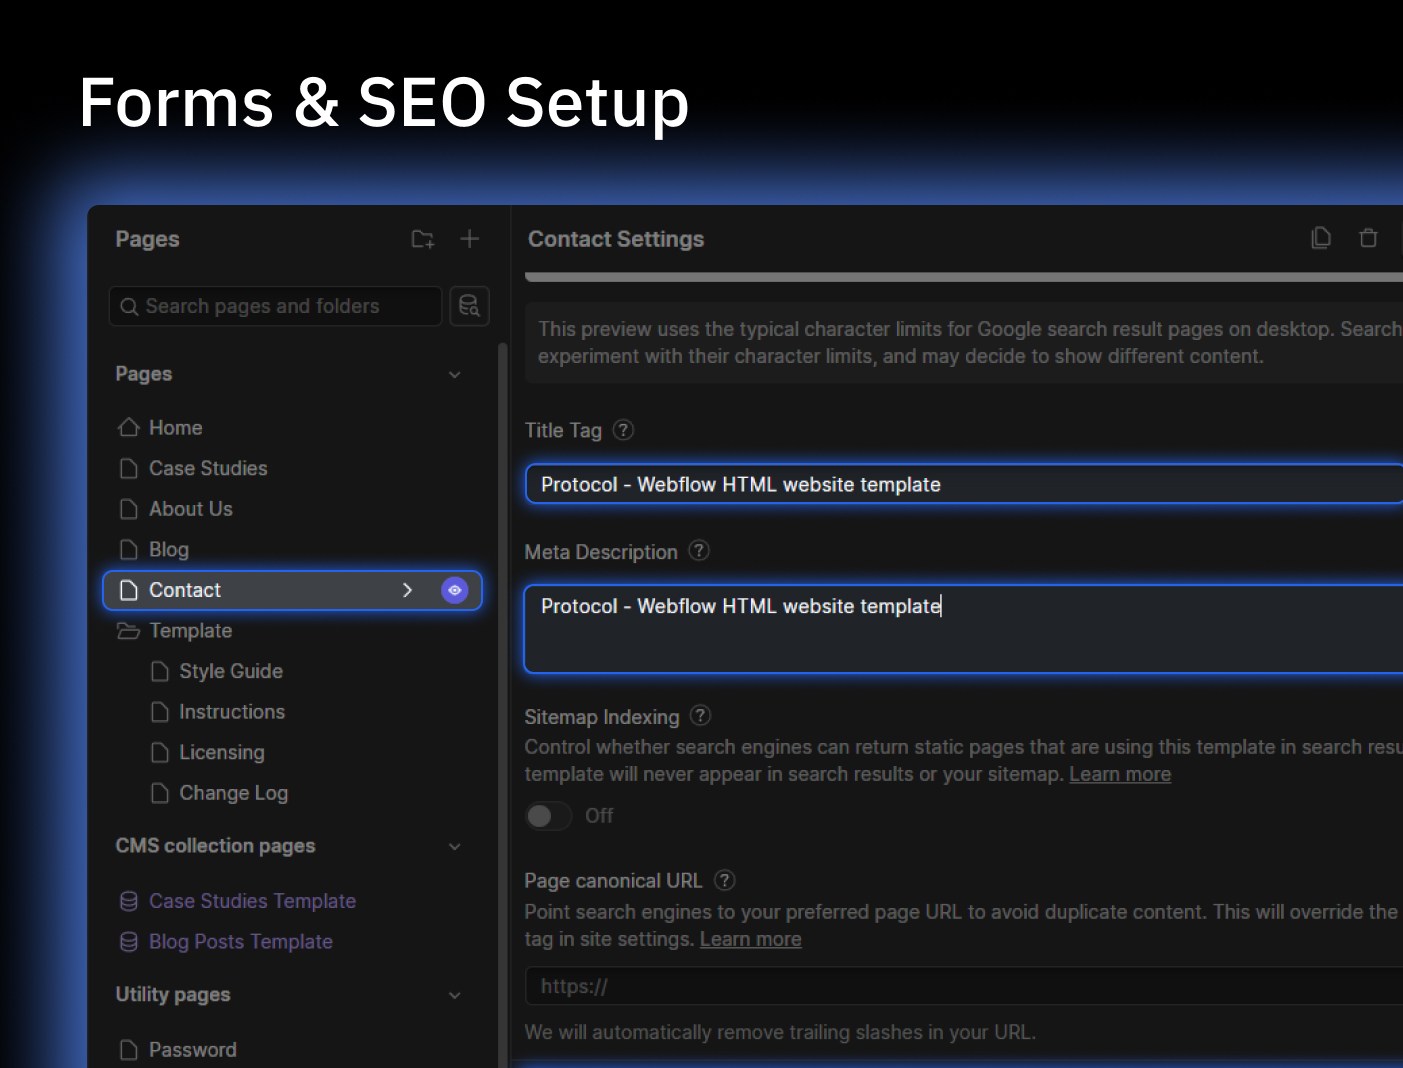
  • Open Pages: Open the Pages list on the left-hand side.
  • Page Settings: Hover over the page you want to edit and click the Gear Icon next to the page name.
  • Update Info: Scroll down to the SEO Settings section to update your Title Tag and Meta Description.
  • Social Sharing: Keep scrolling to the Open Graph section to upload the image people see when you share your link on LinkedIn or X (Twitter).

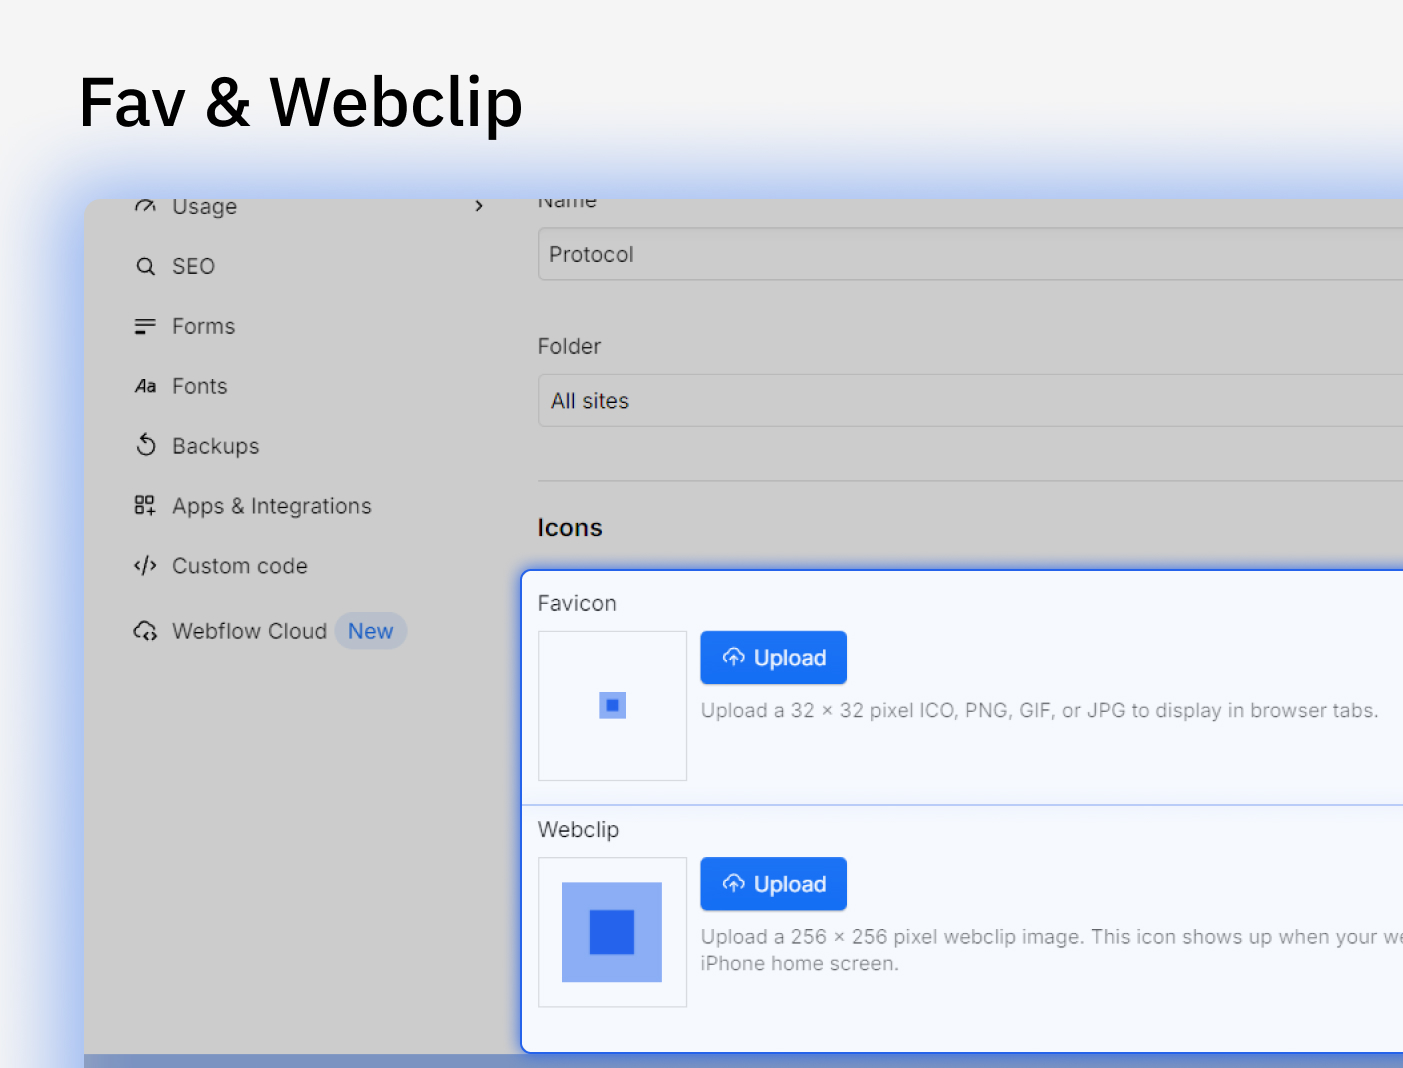
5. Favicon & Webclip

These are the small icons that appear in browser tabs and on phone home screens.

  • Go to Settings: Click the Webflow Logo in the top-left corner and select Site Settings.
  • Upload Icons: Navigate to General > Icons.
  • Format: Upload your Favicon (32x32px) and your Webclip (256x256px). Don't forget to Publish your site for these changes to take effect!

💡 General Tips for Success

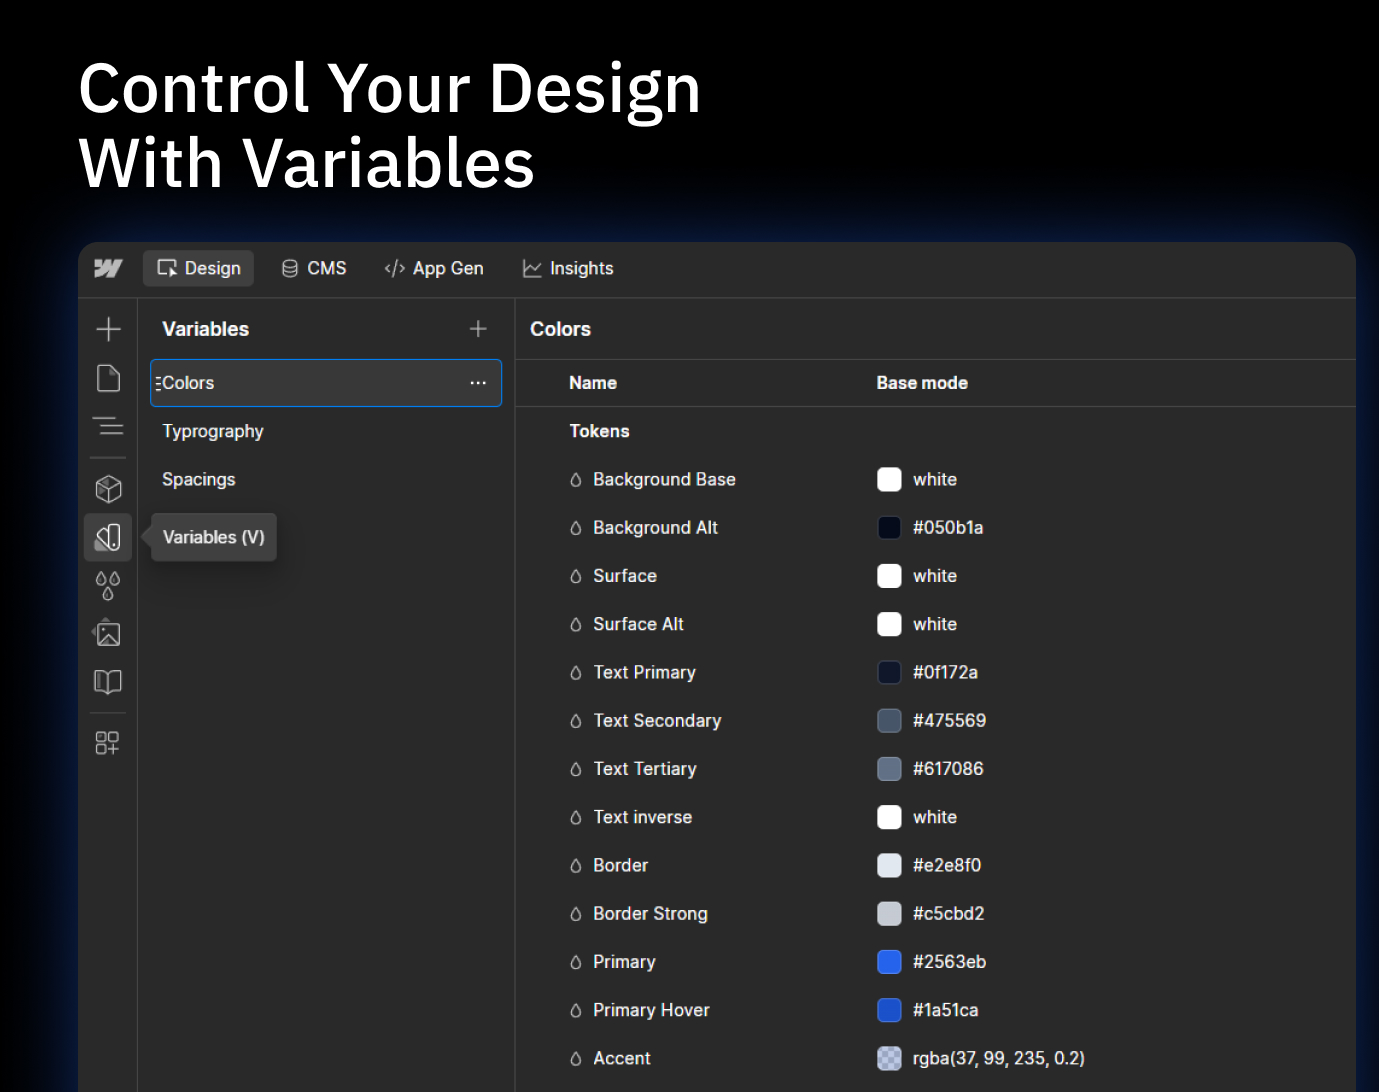
  • Using Variables: As shown in the thumbnail, use the Variables Tab (V) to change global colors and fonts instantly. This is the fastest way to rebrand the entire template.
  • The "Undo" Safety Net: If you make a mistake, don't panic! Use Cmd+Z (Mac) or Ctrl+Z (Windows) to undo. Webflow also saves "Backups" in your site settings if you need to revert to an older version.
  • Publishing: Changes made in the Designer are not live until you hit the blue Publish button in the top right. We recommend publishing to your .webflow.io staging domain first to test everything.
  • Clean Up: Before going live, go to the Style Manager (G) and click Clean Up to remove any unused CSS classes, keeping your site lean and fast.
  • Info Icon
    Figma file or more help?

    If you have any questions or need additional assistance, please do not hesitate to reach out. We are here to help and support you every step of the way. And for those who would like to take a closer look at the design, we are also happy to provide a Figma file. Simply send us a request and we will be happy to share it with you. Thank you for choosing